

How to make a transparent image background using Adobe Photoshop
There are many ways to make a transparent image (or image with a transparent background). Here we present two the methods converting solid color backgrounds into transparent background using Adobe Photoshop.
When dealing with image transparency, one have to realize that not every image format supports transparency. For example, GIF (Graphics Interchange Format) and PNG (Portable Network Graphics) do support transparency, while JPEG or JPG (Joint Photographic Experts Group) formats do not. In addition, GIF formatted images can be animated, while PNG and JPG cannot. Therefore, in the below methods, you have to save your images as GIF or PNG type (format) to have them transparent. For web development, I prefer using the following method.
Using Save for Web menu
Open image in Adobe Photoshop
Select File->Save for Web... In the following window, select Eyedropper Tool (on the left):
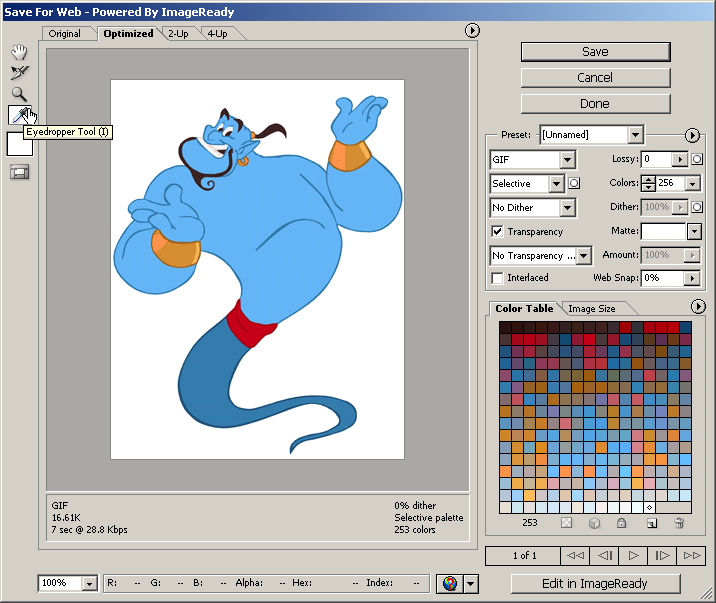
With the Eyedropper tool selected, click on the image background or any color of the image you want to make transparent:

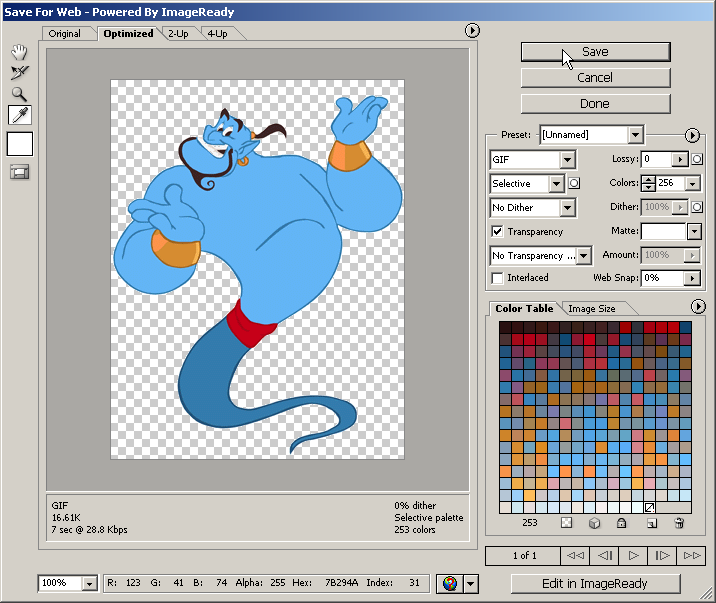
Below the Color Table, click on the first icon (tooltipped "Maps selected colors to transparent"):

Now, your image should look like the one below. The background is shown as a checkerboard (but don't worry, these white and gray little squares are not part of the image, they are so called the transparency grid, and this is just a way to indicate the transparency). Press the Save button on the top right:
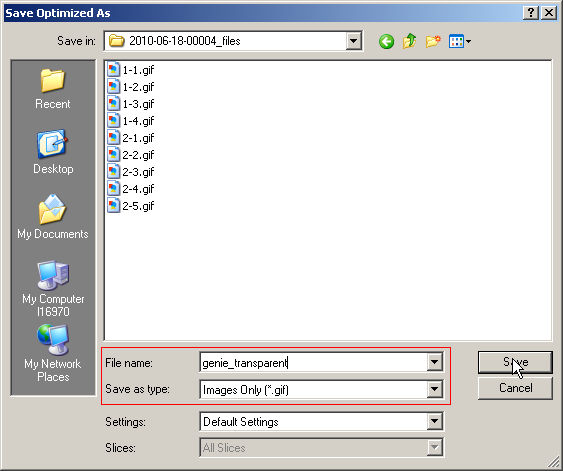
Specify your File name and Save as type: Images Only (*.gif), and you are done:
Using Magic Eraser Tool
Open image in Adobe Photoshop
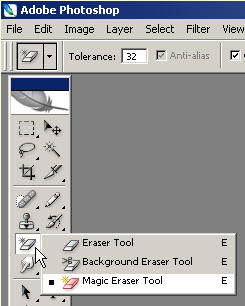
Select the Magic Eraser tool as shown below:
If Eraser tool is not set to the Magic Eraser, right click on it and select the Magic Eraser Tool from the drop-dowm list as shown below:
For multicolor backgrounds you may use the Background Eraser Tool as shown in this tutorial: [http://www.tutorialstraining.com/cstutorials/tut33backgrounderaser.htm].
With the Magic Eraser tool selected, click on the image background or any portion of the image you want to make transparent. Make sure Opacity (see top right of the image below) is set to 100%, unless you want your background to be partially transparent:
Now, your image should look like this:
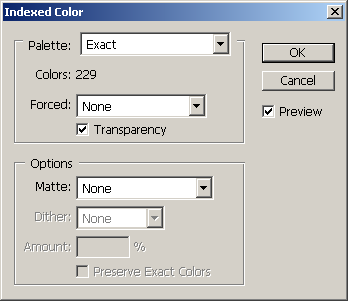
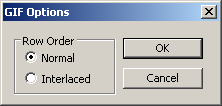
Select File->Save As..., and then enter a File Name and (important!) select Format: GIF or PNG, and press Save button. If you are saving as GIF format the following screen, Indexed Color, will show up, press OK:
...and press OK and you are done:
If the edges of your resulting image are not smooth enough you may want to adjust the Tolerance before clicking on the image in step 3.
Comments
Great article, love it. For example, a transparent background gives you the ability to position a product against a background that changes color dynamically.
Thank you for your comment, Josephine. Good idea!